Super Chunky Rainbow Blanket - tutorial tips
Hello lovely people!
Welcome to my tutorial tips page for the Lottie and Albert Rainbow blanket.
If you would like the pattern with full photo tutorials, advice on how to wind your giant yarn ball, and the sizing details and yarn requirements for 5 different blanket sizes and five different cushion sizes, you can find the pattern in my Etsy shop - click here.
There's also now a knit version of the blanket - click here to see it!

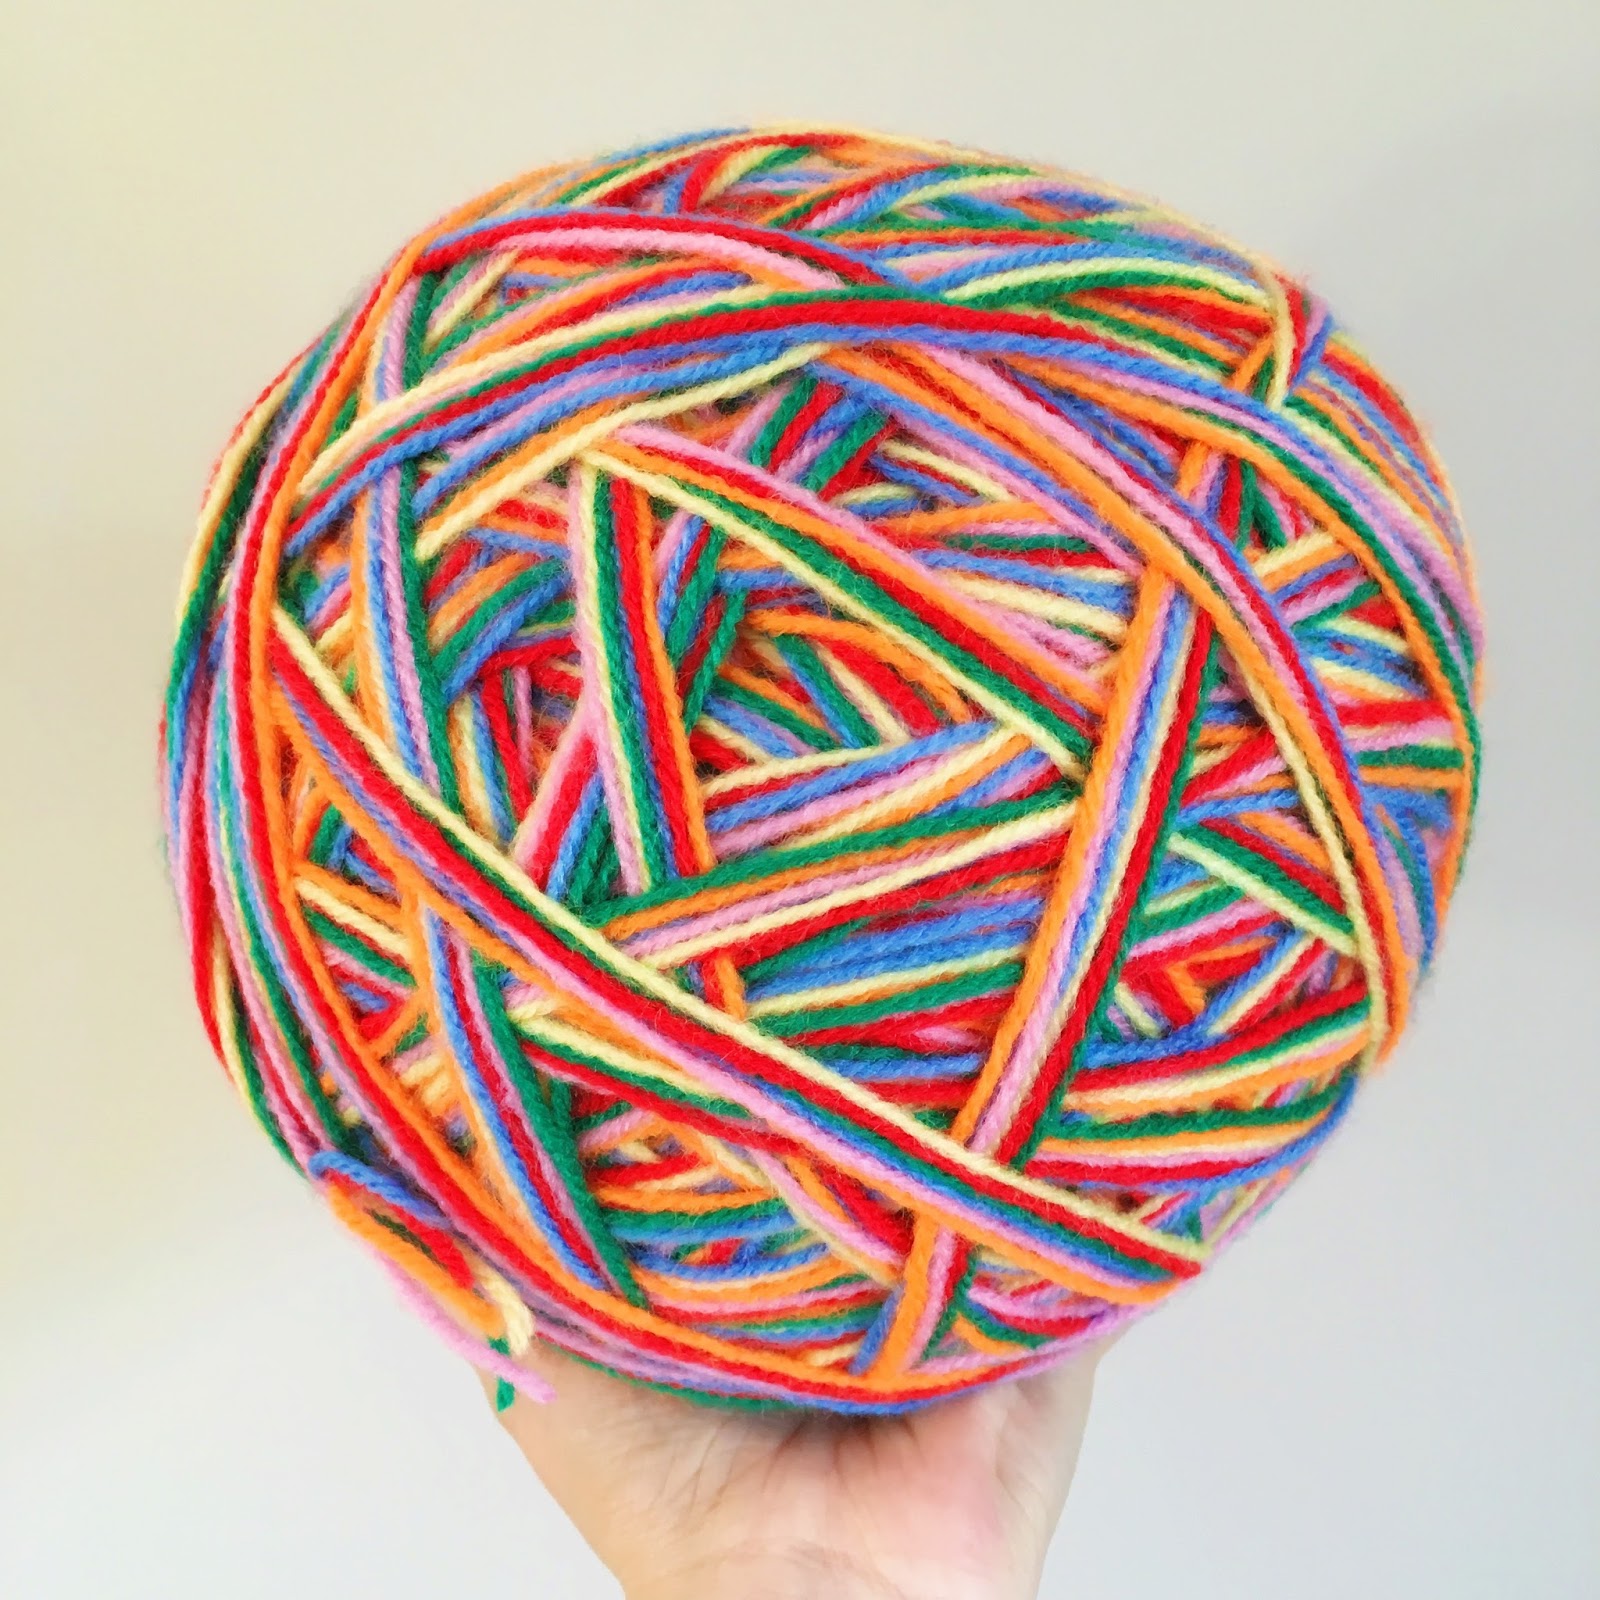
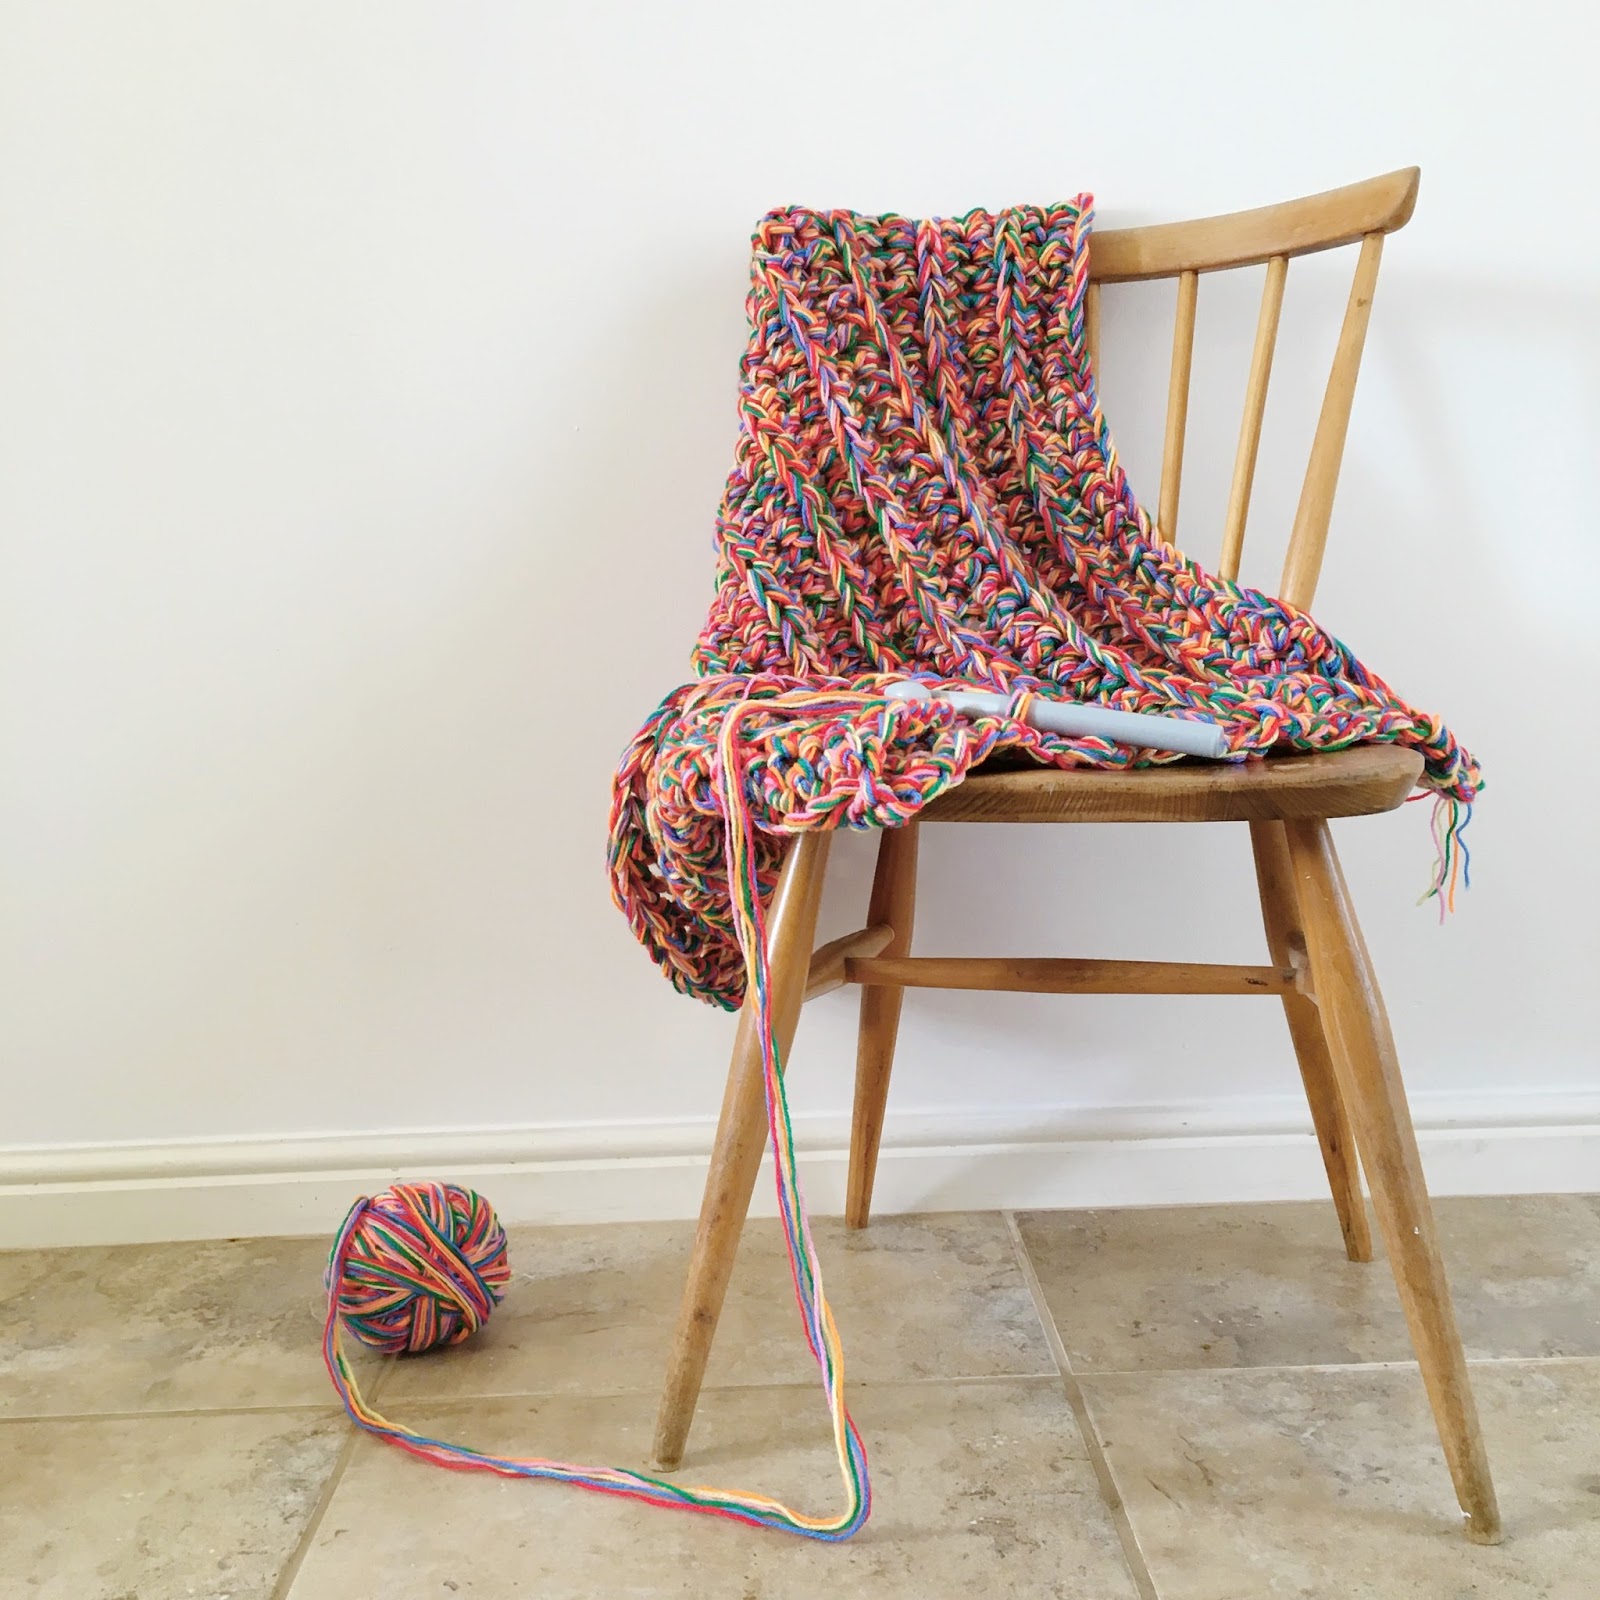
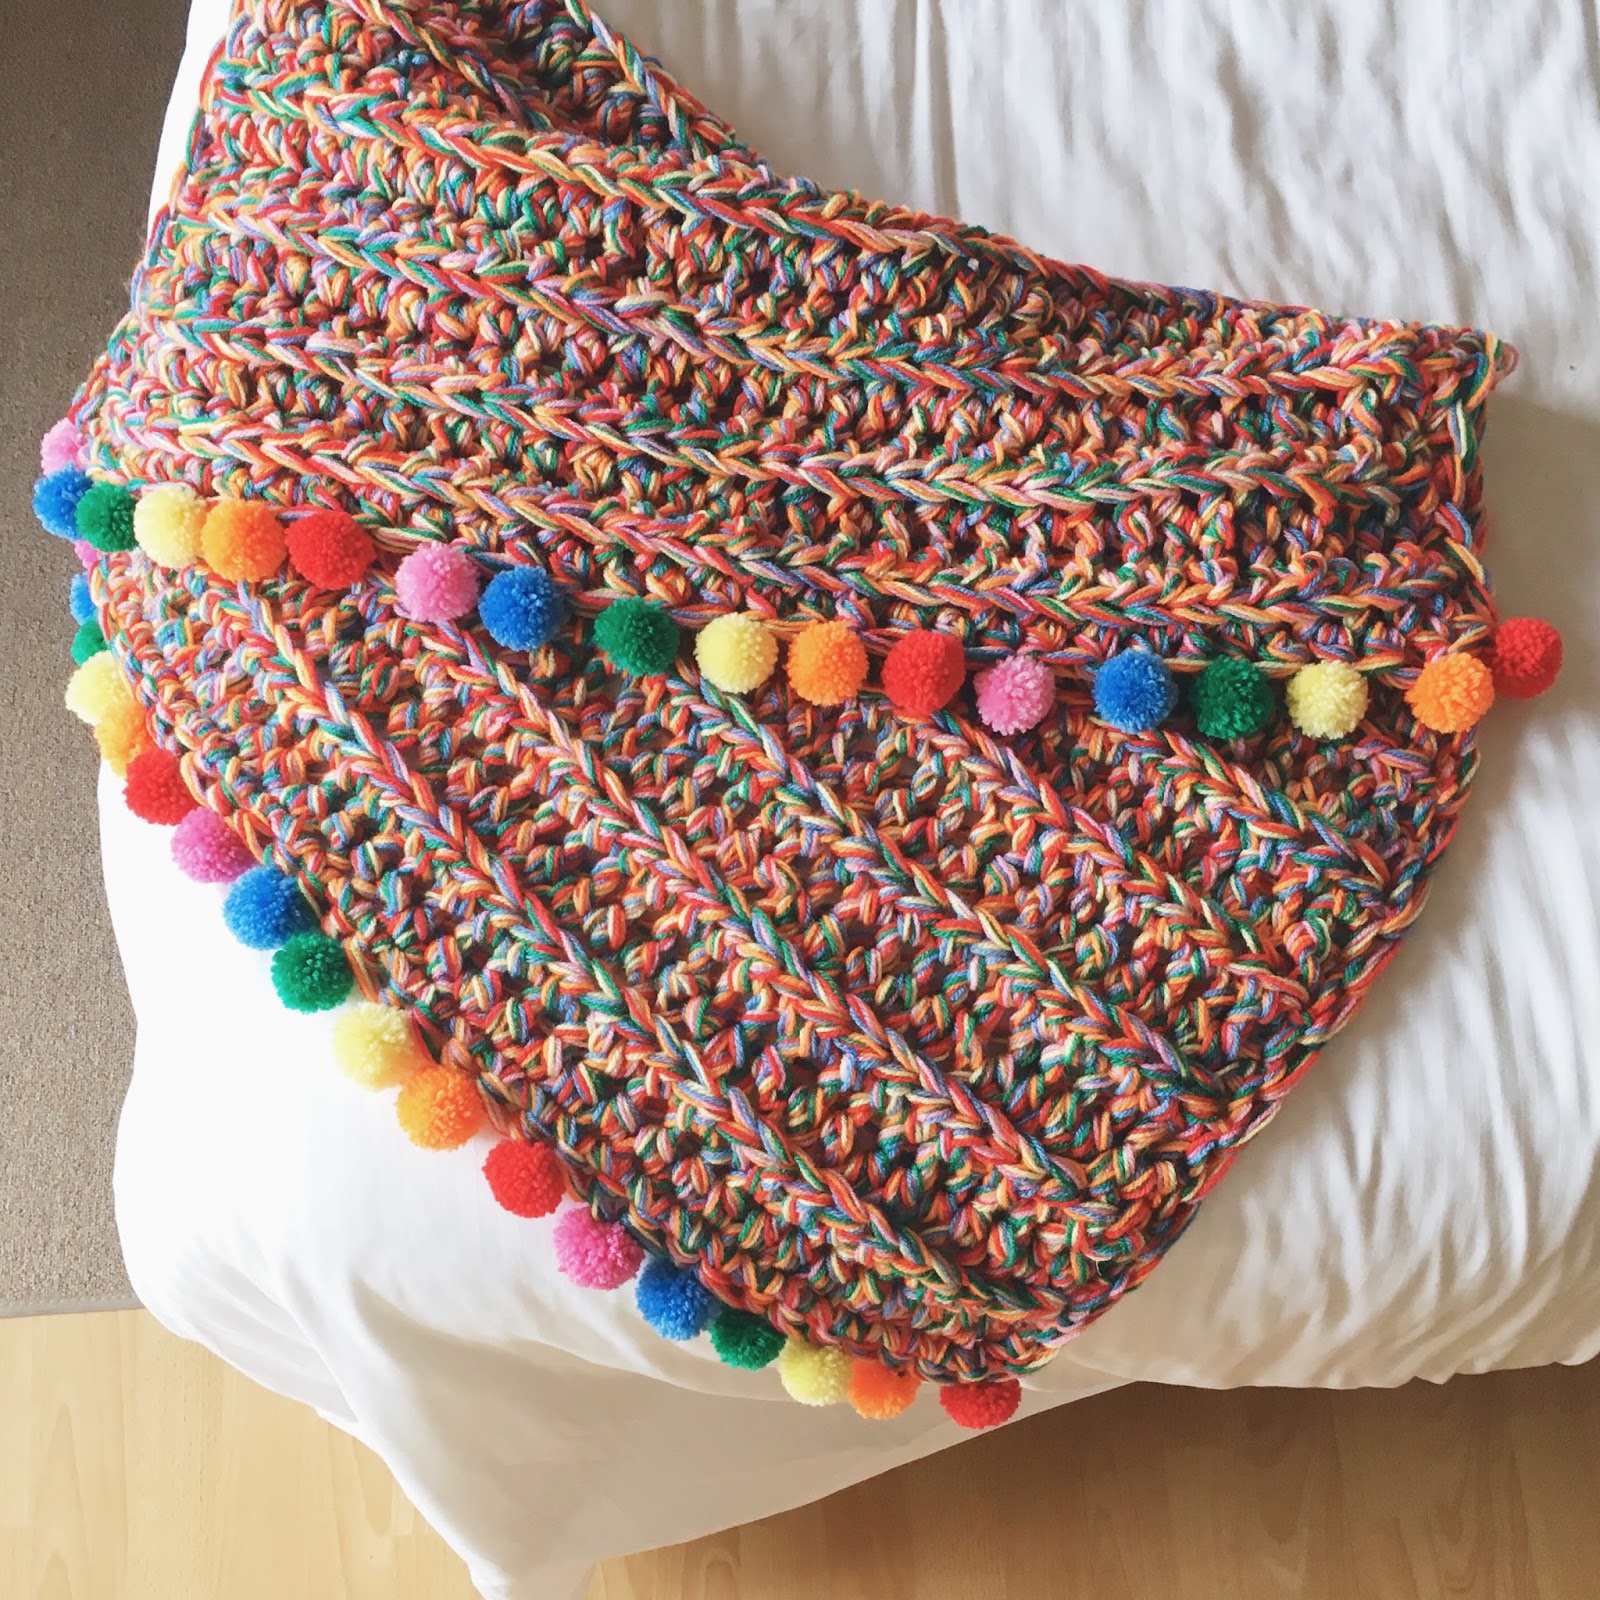
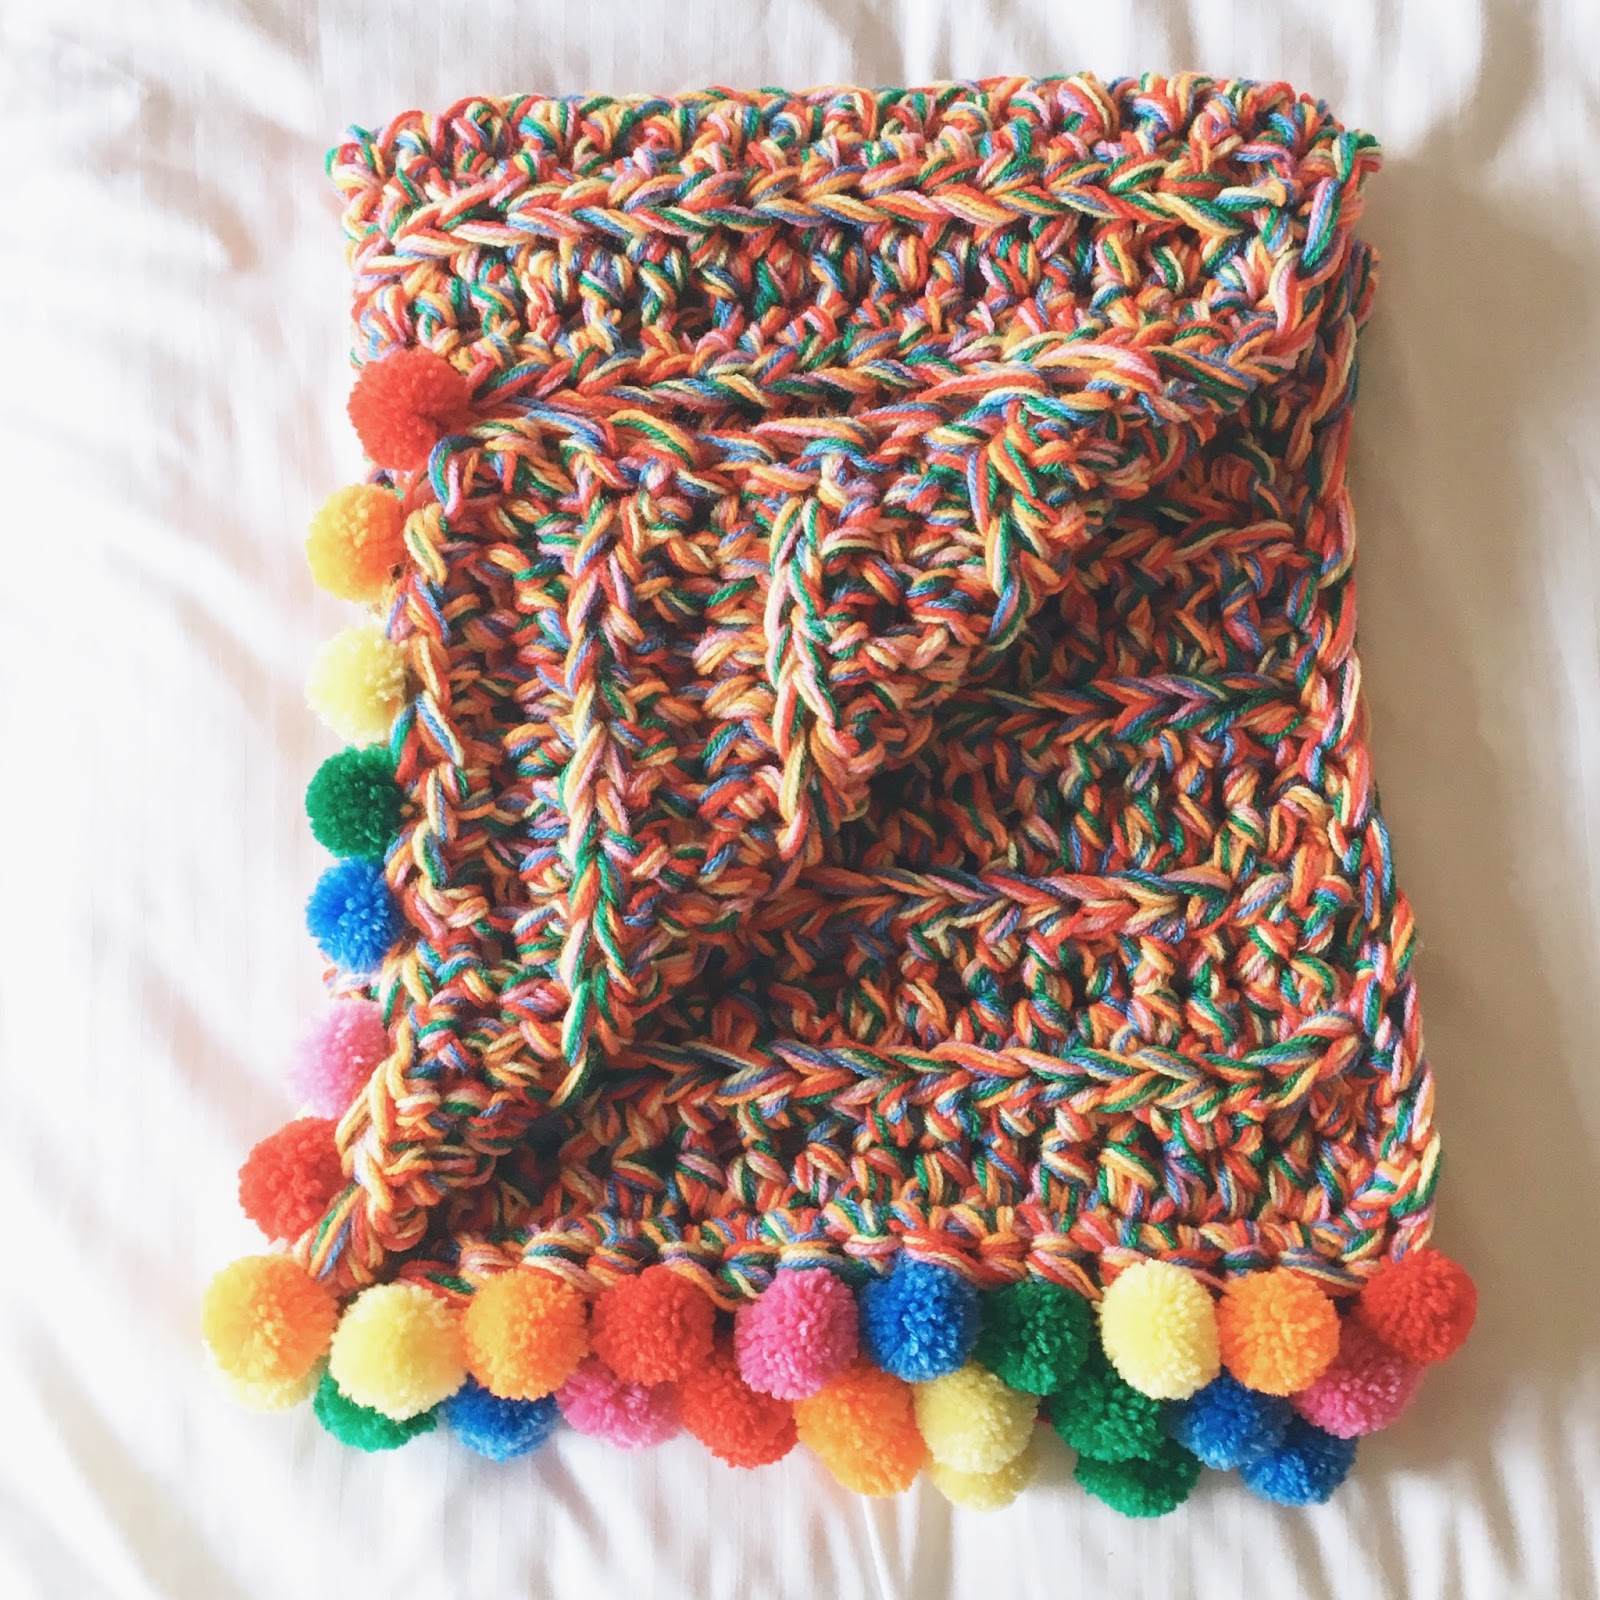
This is a great stash buster project, and really the combinations of colours and yarns are endless! But be warned it is going to gobble up your yarn, with the final blanket cot quilt size/lap quilt size at around 80cm x 100cm based on this pattern :)
Happy making!! If you do use this pattern, please tag your makes with #lottieandalbertrainbowblanket so I can see what colours you choose, how many pompoms you go for and how fabulous they all look!
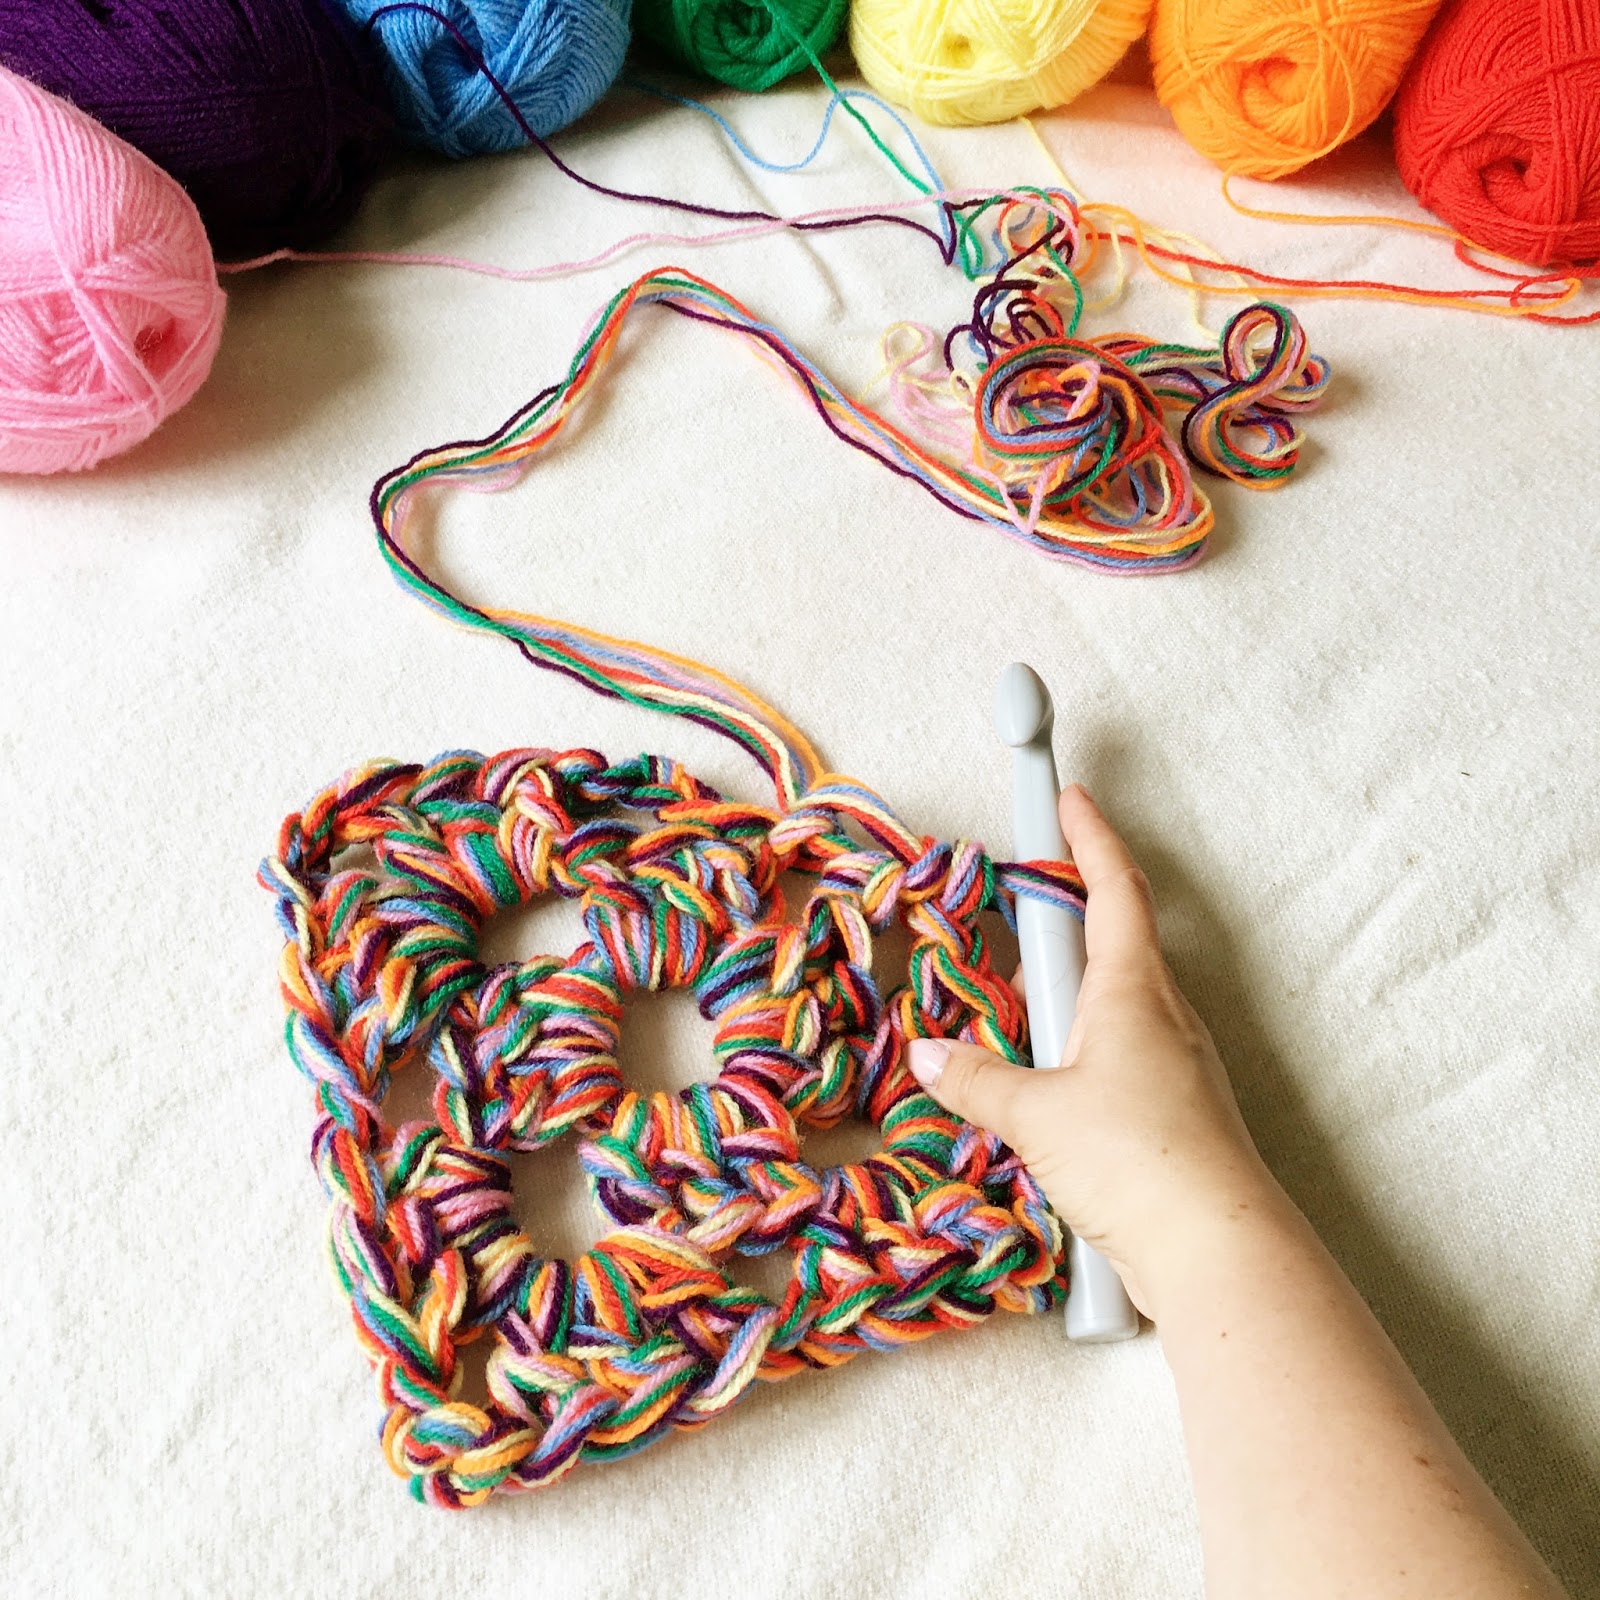 |
| An early version of the blanket, using 7 balls of yarn and a granny square pattern |
Materials
20mm crochet hook
6 balls of 100g DK yarn
Small pom pom maker (1-2")
Scissors
I used Pony's 20mm crochet hook from Amazon (£3), and 6 balls of Marriner acrylic DK (£1 each!) in Red, Jaffa, Sunrise, Emerald, Madonna and Fiesta. I originally chose to use this yarn as a stash buster as I found the acrylic quite stiff for clothes or toys, but actually, once you use 6 of the yarns together, it turns super squishy! So I would fully recommend this very cheap yarn.
At time of writing, it looks like the Sunrise Marriner colour is out of stock, but I've seen that Paintbox yarns do a rainbow bundle, which would also work really well!
One of the hardest things to get used to with this pattern is the tension, because your yarn is so thick and your crochet hook so big! I found a few things helped...
TIP 1
The crochet hook, due it its size, has a very deep throat, so make sure when you have wrapped your yarn over, inserted into the back loop only, and are pulling up a stitch, that the new stitch is pushed onto the thickest part of the hook before you yarn over again and pull through all loops; this will make your life easier for the second part of the stitch, and for the next row.
TIP 2
You can also try holding the base of your stitches with your left hand as you pull through all loops on the hook, to steady the stitches and help the hook pull through without distorting your tension.
TIP 3
Finally, don't be afraid to manipulate the stitches with your hands and pull the stitches through using your fingers if you need to while you are getting used to the super chunky size!
Expect to be slower with this size hook than your are used to with normal sized hooks - once you get into a rhythm you will speed up, plus the super chunky size means that, even at a slower pace, your blanket will still make up quicker than smaller-sized projects!
Making your Pompoms!
I used a pompom maker very similar to the Clover ones. It has two sets of 'arms' that open out from the centre, which you wrap your yarn around before closing up and cutting around the centre, securing with a length of yarn.
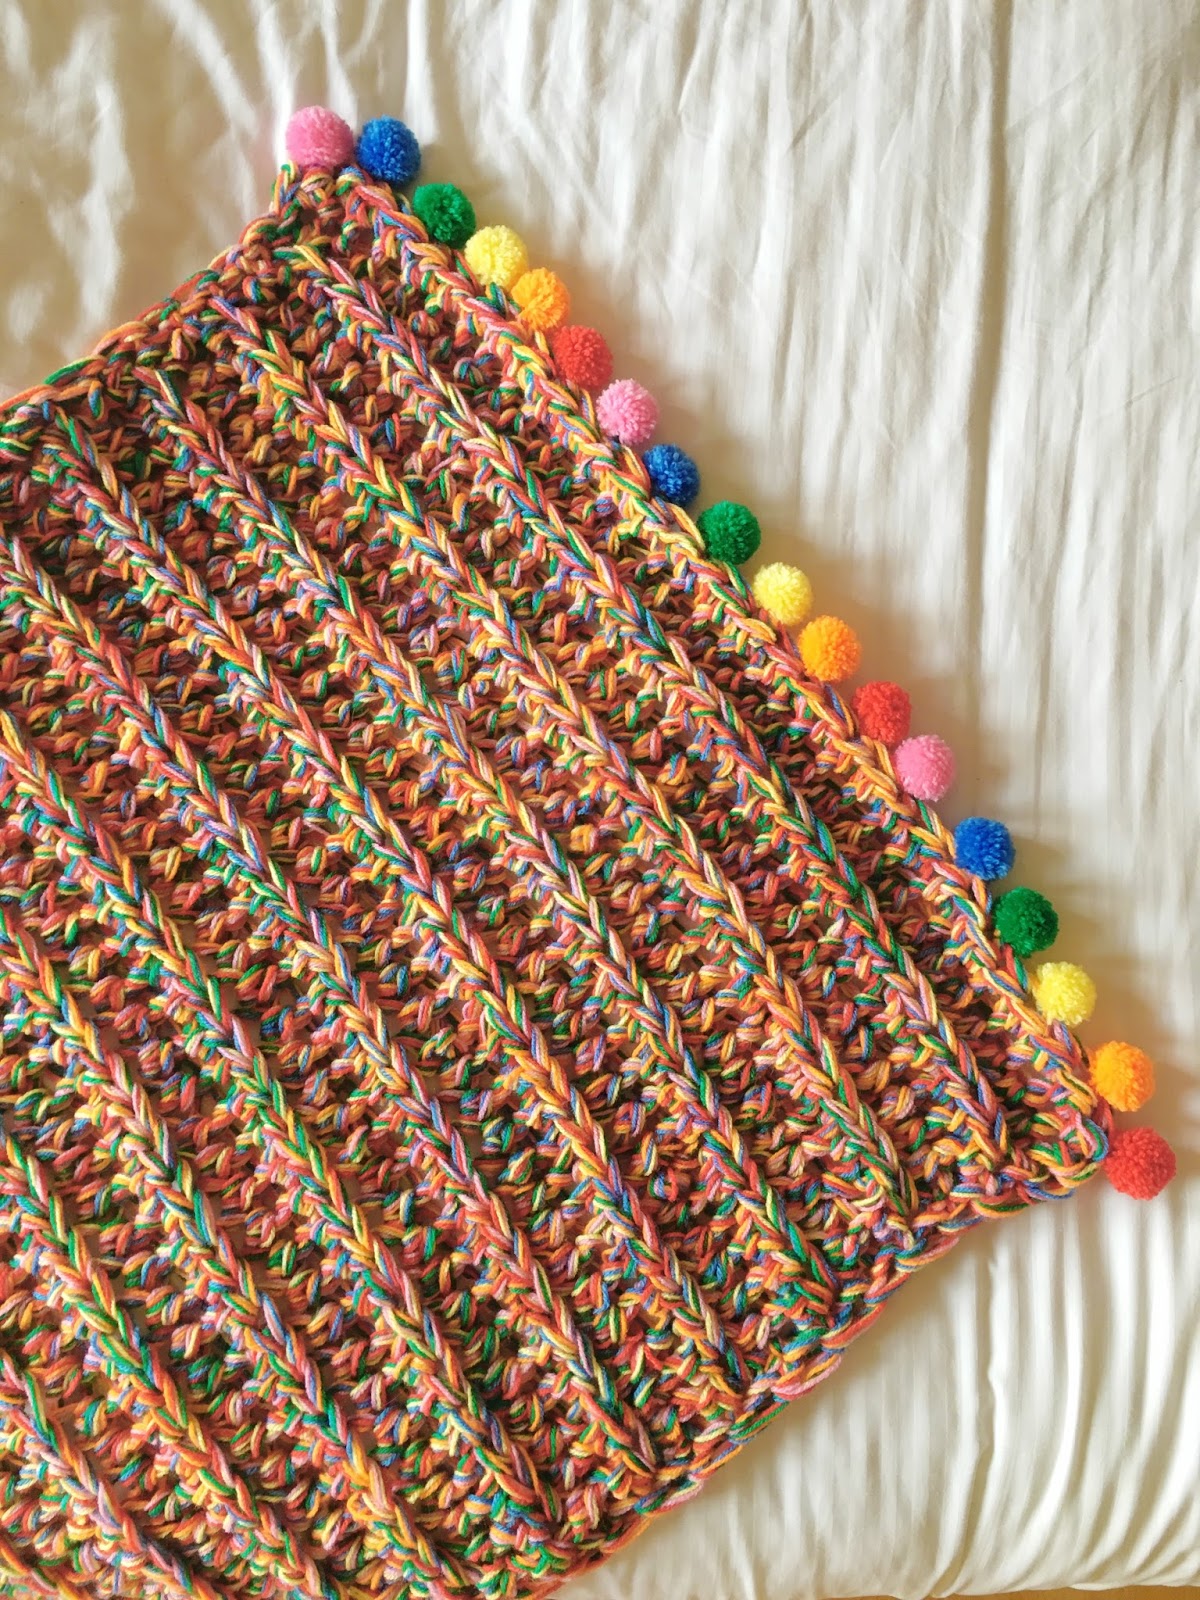
I made 18 pompoms for each end of the blanket, and attached them by tying them by hand to every other stitch along the top and bottom of the blanket.
TIP 1
If you are using the same type of pompom maker, wrap your yarn around the arms until the half semi circle is completely filled, giving you a flat top edge of yarn, before moving onto the other arms and doing the same again. When your pompoms are freed from the maker, give the a little fluff and trim them if necessary.
TIP 2
If you are worried about how much yarn to keep back for the pompoms, you could make them first then you can be safe that all remaining yarn will be for the blanket!
Happy making!! If you do use this pattern, please tag your makes with #lottieandalbertrainbowblanket so I can see what colours you choose, how many pompoms you go for and how fabulous they all look!
