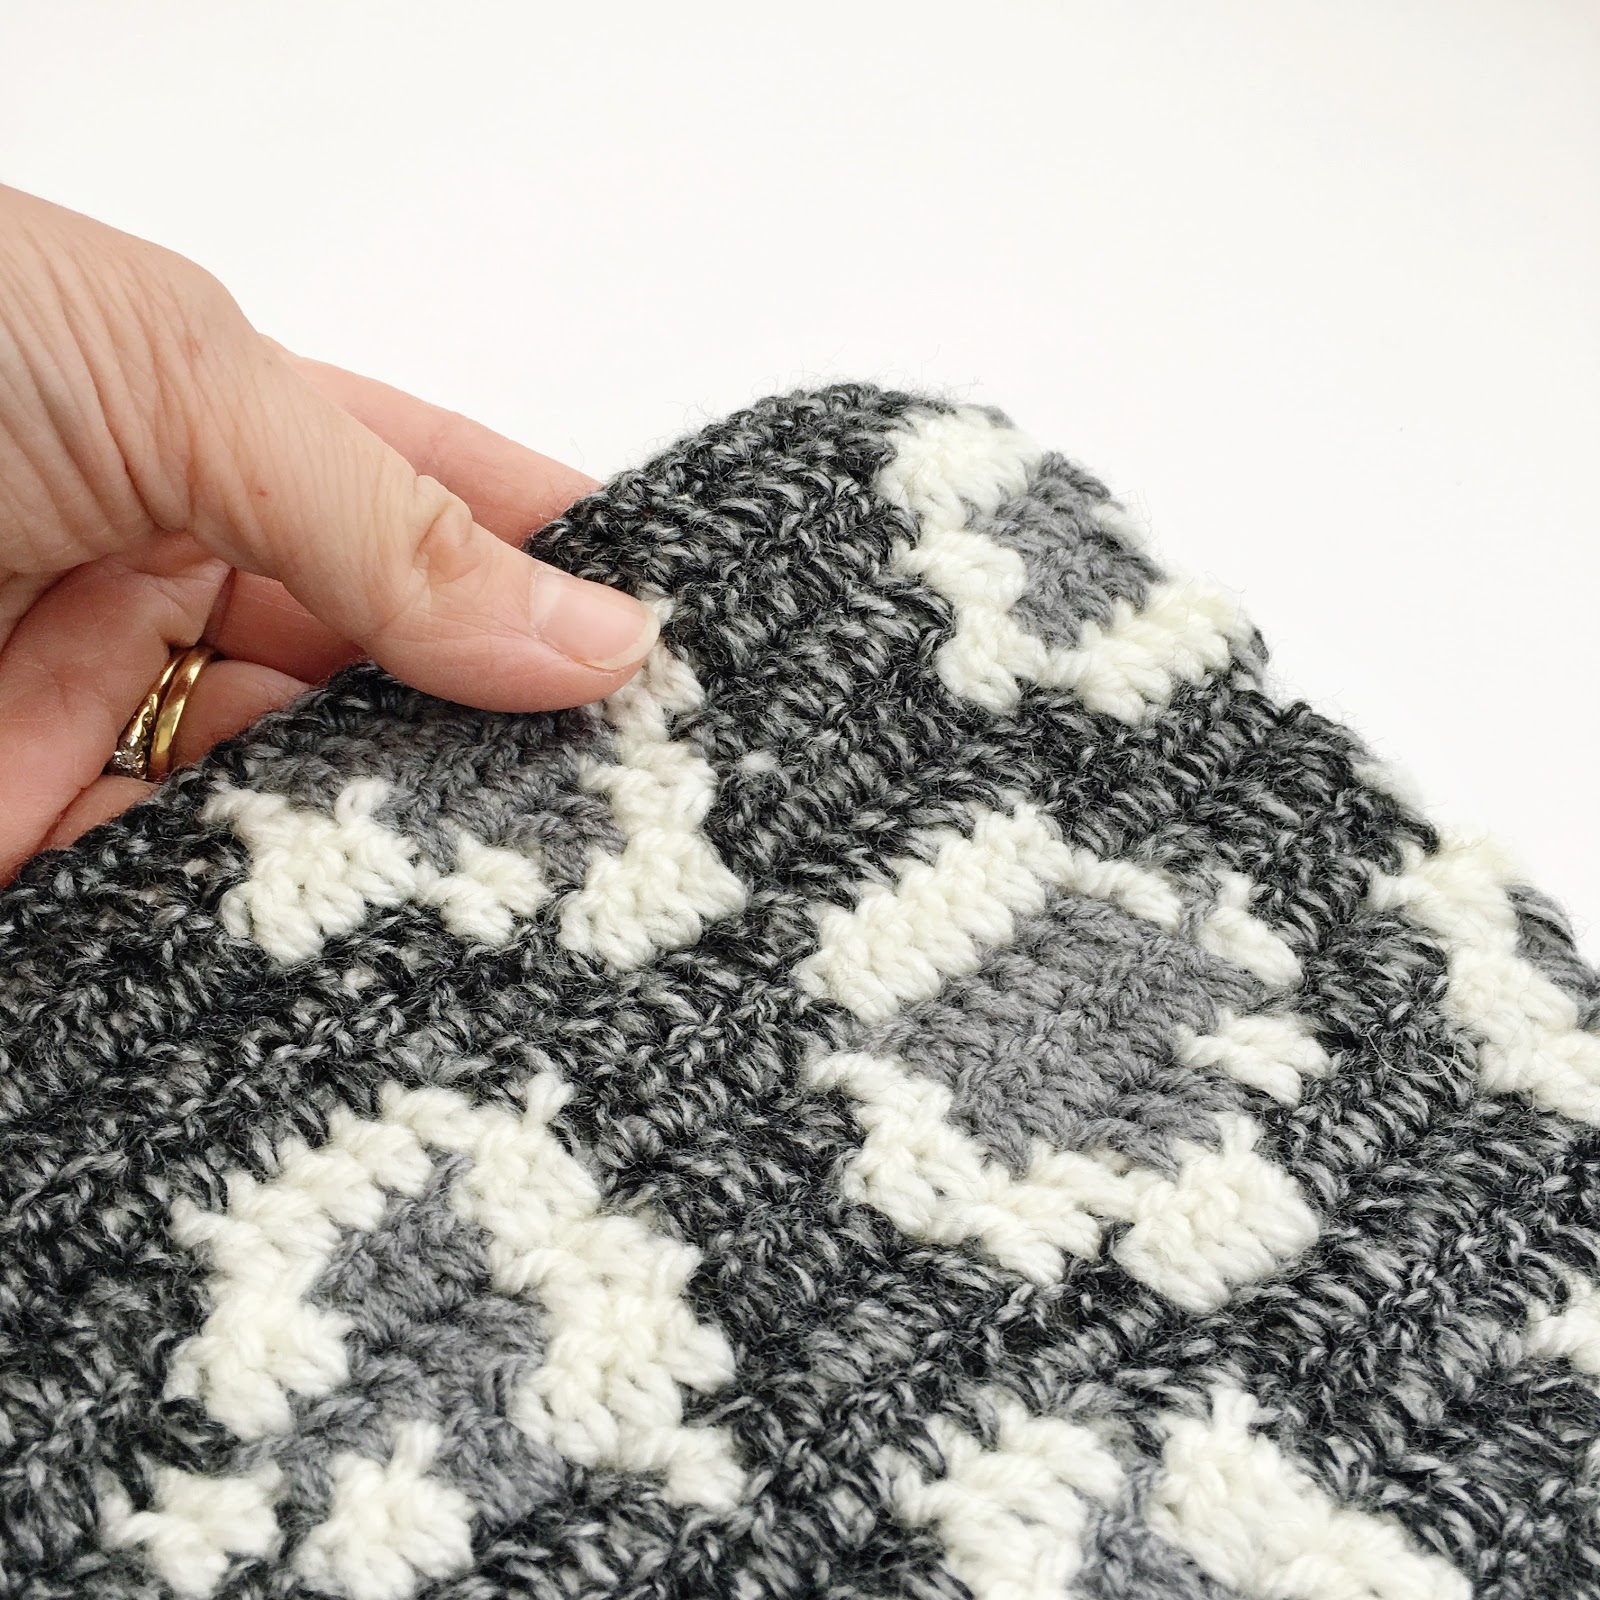
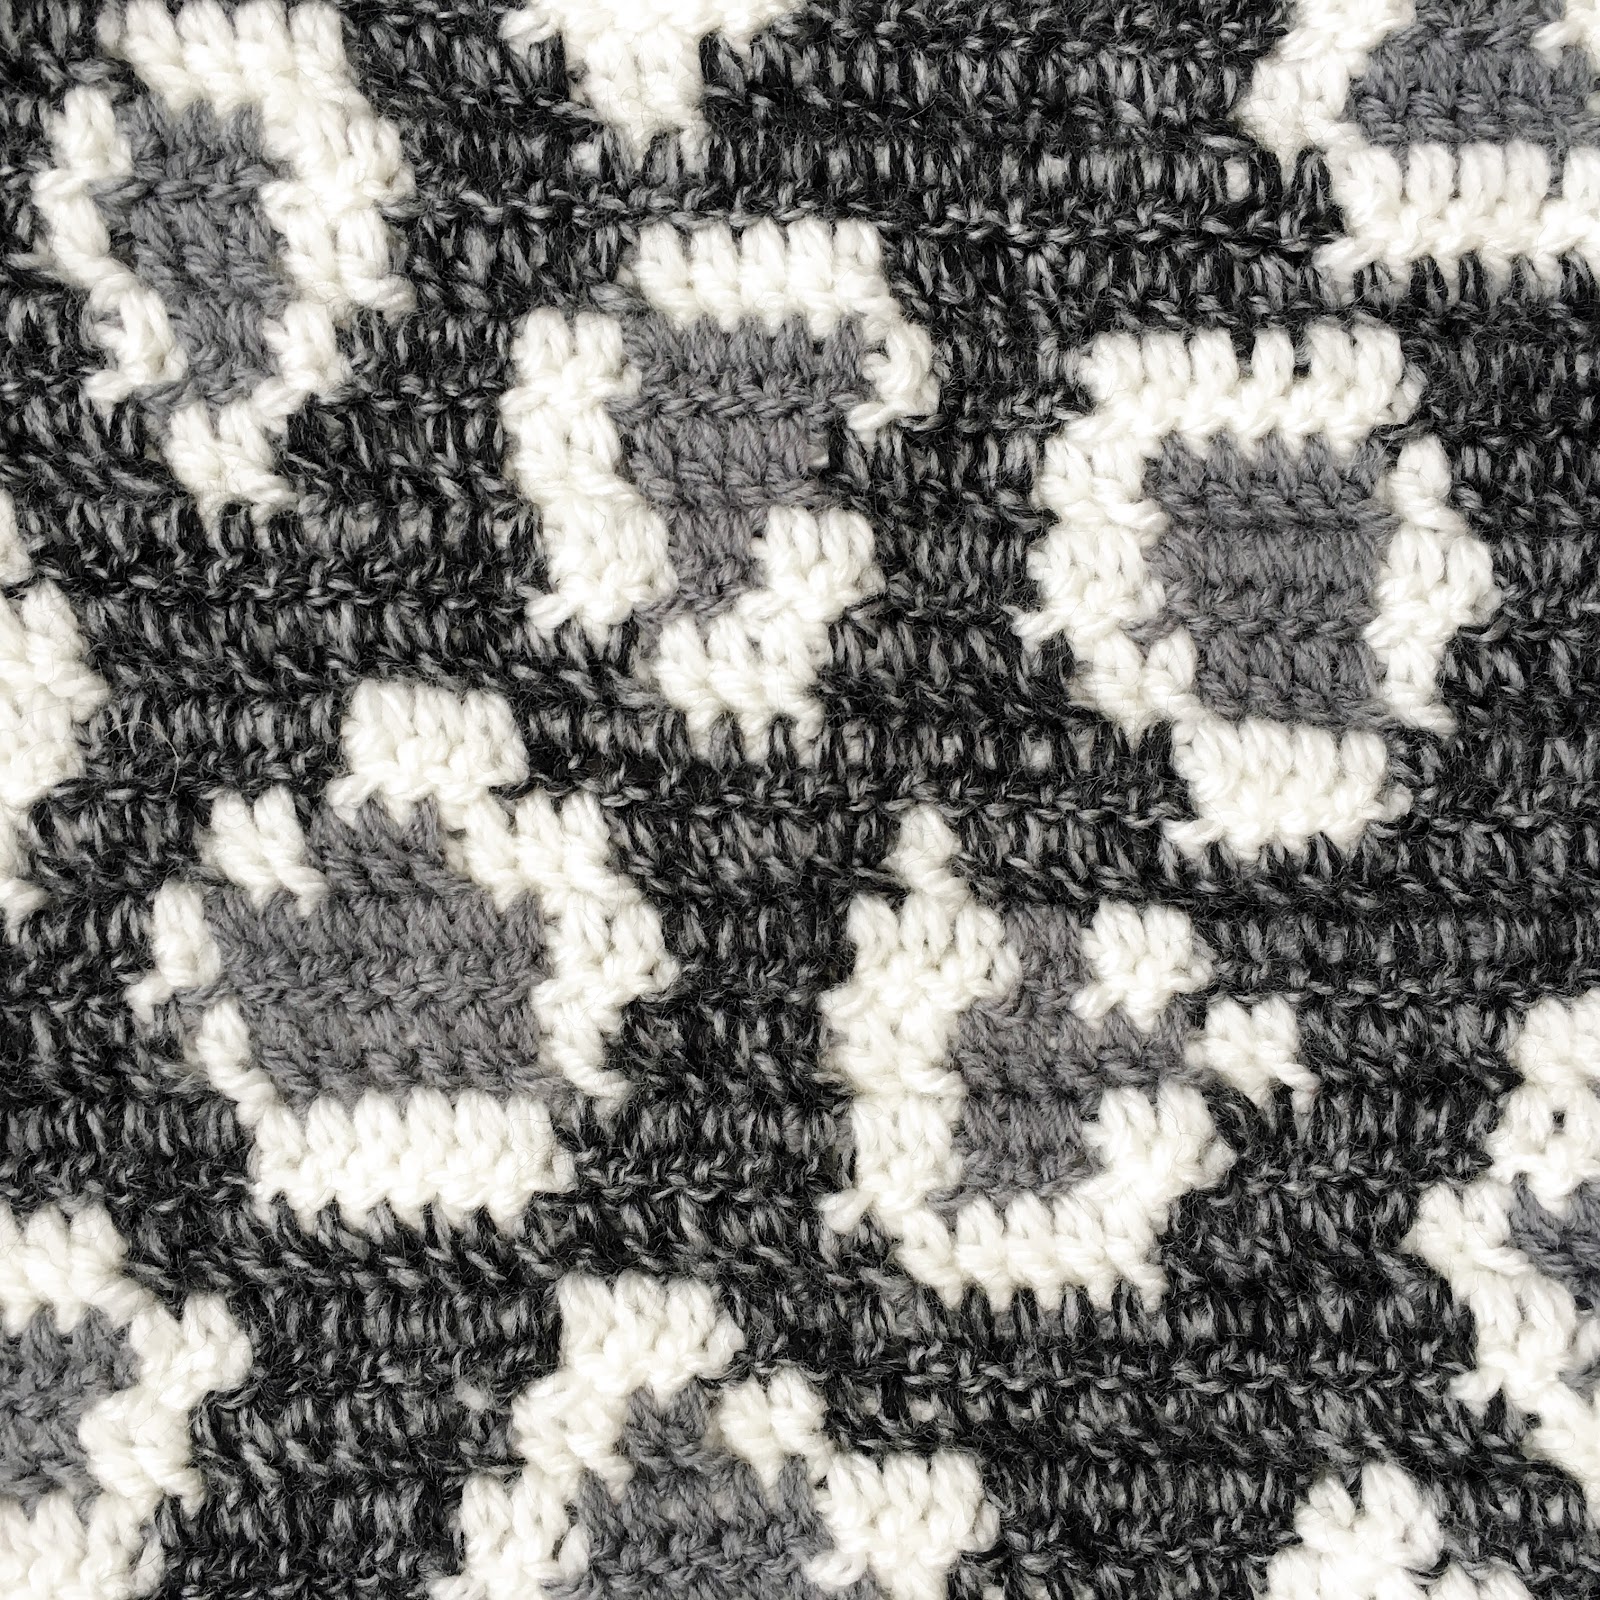
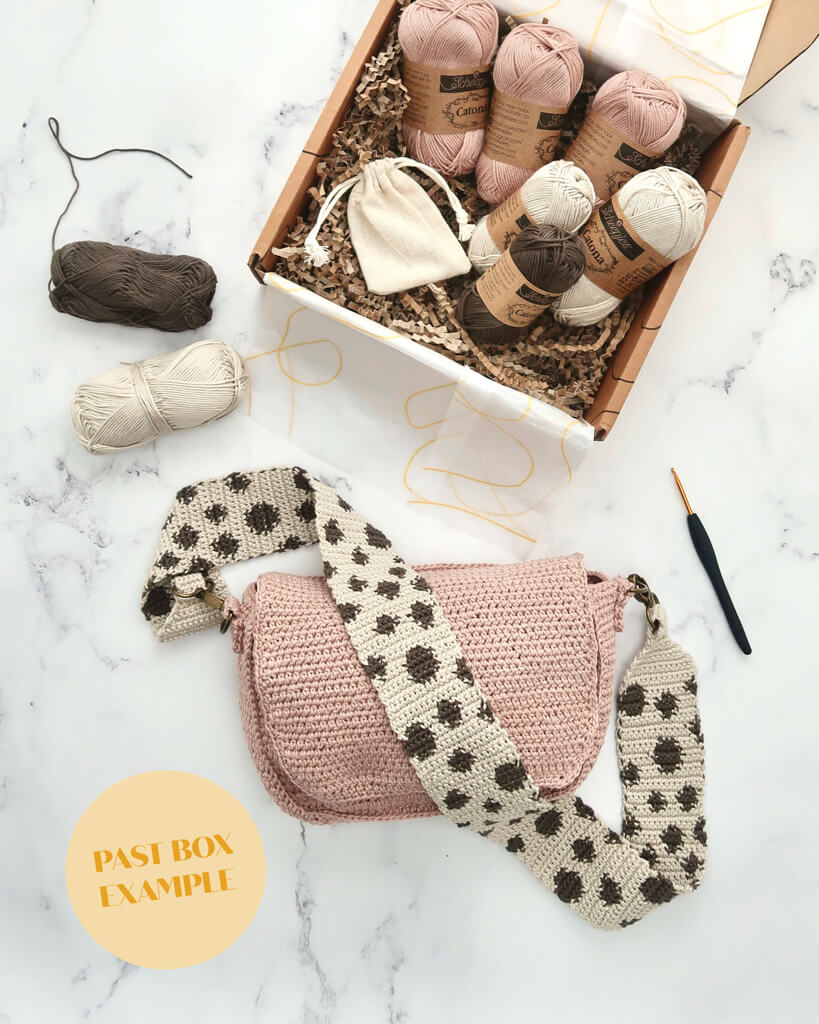
My leopard print tapestry square received so much love on Instagram, I thought I'd share the graph on here too, in case anyone wanted to make their own!
You may or may not have noticed, but this is only my second ever blog post since my Lottie and Albert Rainbow Blanket Tutorial (it's almost pointless linking it: as I said it's my only other post so very easy to find it if you'd like to, ha!). Partly this is due to lack of time (I blame my children, who are currently 1 and 2!), but mostly due to wanting to blog 'properly' and not having 'good enough' images, content, and so on.
Then yesterday I caught a live IG stories by one of the @ourmakerlife founders, who was chatting about all things Instagram and Etsy. A few of the things she said really struck a chord with me, one of which was, essentially, stop comparing yourself to those accounts that are already fully polished with wonderful photography, a fully stocked Etsy shop, etc, and if you want to open an Etsy/blog/start a YouTube channel then just, make a start! Put yourself out there, and focus on growing and improving as you go along.
She also talked about writing content, and stopping worrying about what you think people want to hear, and start writing what you would like to share. It sounds so simple when someone else says it, doesn't it? So with that in mind, here's me making a move towards where I want to be. It's not perfectly polished yet but, if you are reading this, thank you for being here and following along with my journey!
(PS Can someone invent a better word than the cringe-inducing 'journey'?!)
Leopard Print Tapestry Square
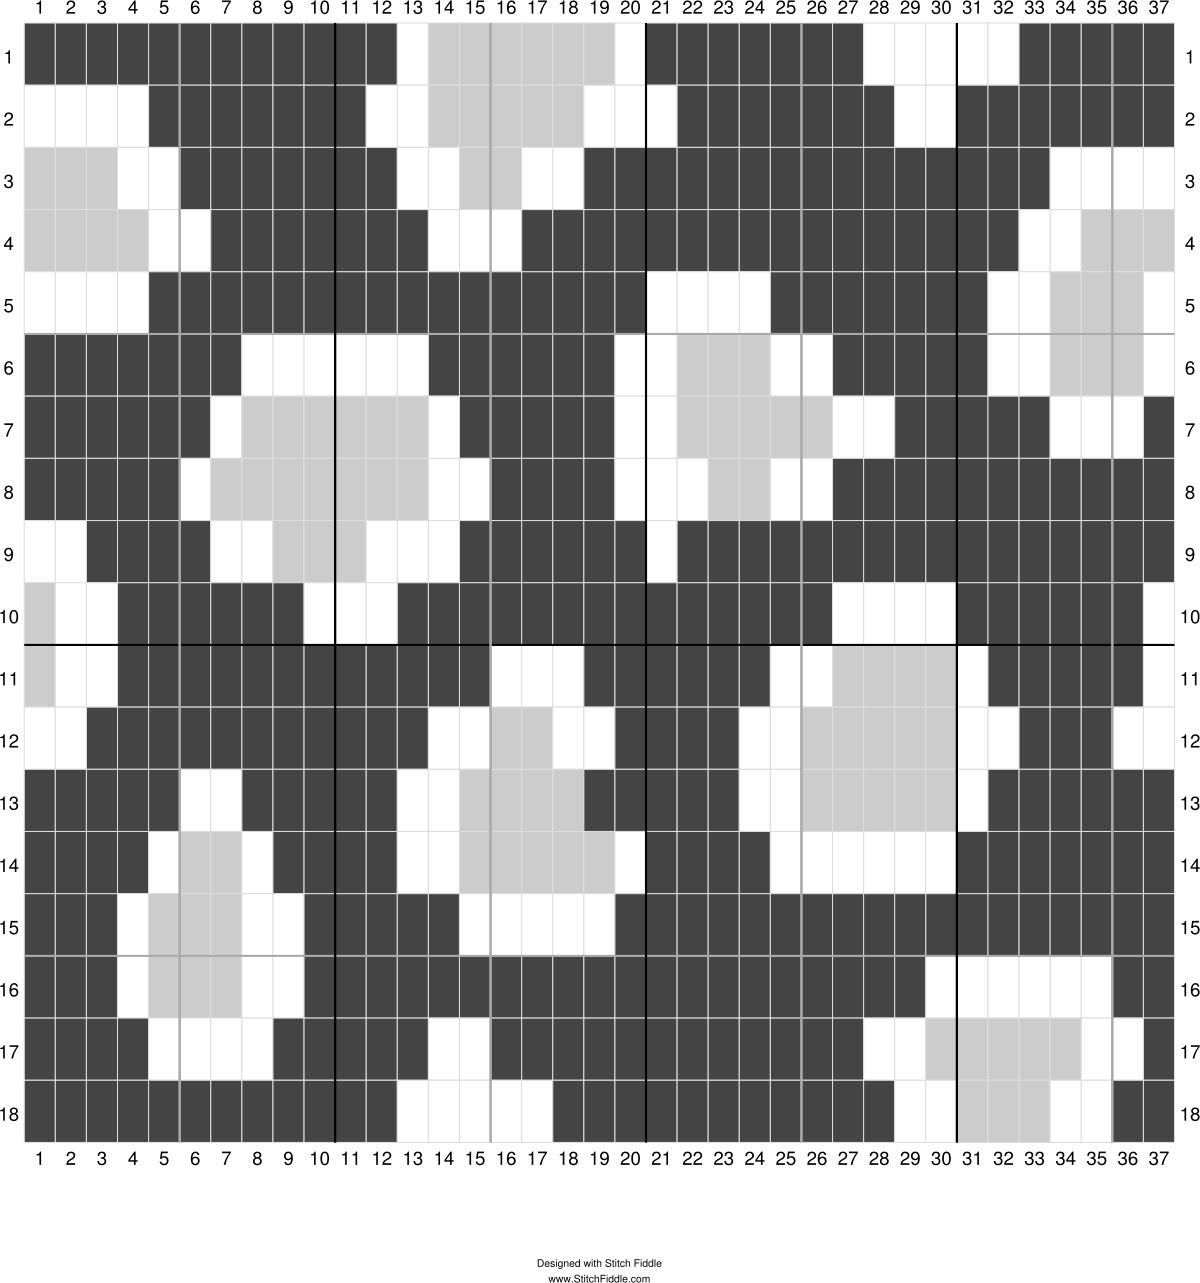
The graph below has numbers and rows that were auto-generated when I created the chart in Stitch Fiddle, but if you are familiar with tapestry crochet you will know that you need to start at the bottom right (37:18), so please ignore the numbers!Pattern notes
Tapestry crochet is a popular form of crochet colour work, which is created by carrying all your colours at the same time, inside the stitch (unlike Fair Isle - which carries the other yarns on the Wrong Side in floats, and Intarsia - which doesn't carry the other colours, but requires a new ball of colour for each colour change).Tapestry crochet is great in that the pattern works on both sides of the piece - you may see your other yarns at the ends of your rows when you turn your work, but this can be remedied by adding a border or double crocheting around the piece in your main colour at the end. Bear in mind it may create a slightly stiffer fabric, and will be thicker due to the carried yarns inside the stitches.

The main things to bear in mind are
The Graph
...At the end of each row when you have turned, remember to read the graph back the opposite way to the row before. You may want to print it off and mark the rows off as you go.Happy Making! Feel free to use different weight yarns, to connect several squares together, or to expand the chart to make a longer thinner scarf, or similar!

This is not a stitch-by-stitch tutorial, but I have tried to give some hints and tips if you are new to the tapestry crochet technique!
Tension
You may want to go down a hook size, as any gaps in your stitches will show the other yarn colours running inside the stitches.Colour Changes
To change colour, you will need to modify the standard treble (US double) crochet stitch. Yarn over using your first colour, and insert hook into stitch. Pull up a loop using your main colour (three loops on hook). Yarn over using your main colour, and pull through two loops. At this stage, let go of your main colour, and pick up with your hand the colour you want to change to, now yarn over using your new colour, and pull through the remaining two loops on your hook. You are now ready to make your next stitch in the new colour. Change colour in this way every time you see a colour change coming up, even if the end of the row is one colour, and the start of the next row (the stitch above on the graph) is another colour.Foundation Chain: Ch40 in dark grey
Row 1: bring in your light grey and cream yarns and, working over the top of them, treble (US Double) crochet into the third chain from the hook. Follow the graph below, starting in the bottom right hand corner, working right to left. When you reach the end of the row, turn your work.
Row 2: Ch 3 (this is your turning chain and does not count as a stitch throughout) You are now reading the chart from left to right...
If you do make one, I'd love to see!
Let me know in the comments, by tagging me @lottieandalbert on Instagram, or using the hastag #lottieandalbert
